Choosing the right images for your website can be difficult. Organising your images effectively so that your web developer can easily identify them can also be a challenge.
With some simple planning and knowledge, the process can become far less daunting.
Here’s what you need to do in a nutshell:
- Plan what images you need
- Take photos and gather images
- Organise your images
- Send your images to your web designer
Too often during website projects we have requested images from a client only to receive back pixelated, low-resolution photos.
Even more often, we receive a folder of photos labelled DCS123456blahblahblah. Clearly, these names tell us nothing about what the images are. Sometimes it’s obvious, but usually it isn’t.
The result? Endless emails or phone calls back and forth while we try to identify or replace the offending images.
Here’s how to avoid this.
1. Planning what you need

Knowing in advance which photos you’ll need and which you’ll be unable to get is priceless.
Before your web project begins, you should have a list of the sections that will appear on your website. We supply our clients with a handy table of sections and the images that will likely be needed for each.
Here’s what that table looks like. We’ve included a link to a Word document below containing the table that you can download and use at your leisure. Happy birthday!
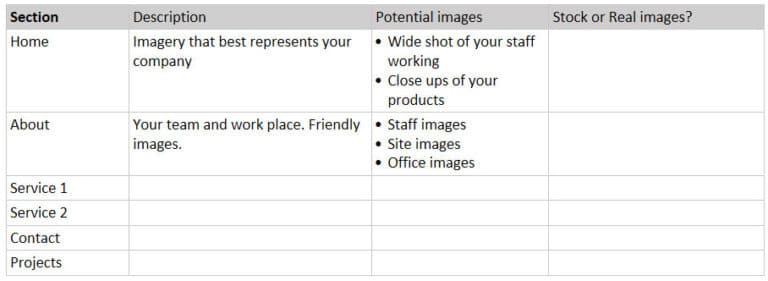
GET: Planning out images for your website [word.doc]
2. Taking photos and getting images

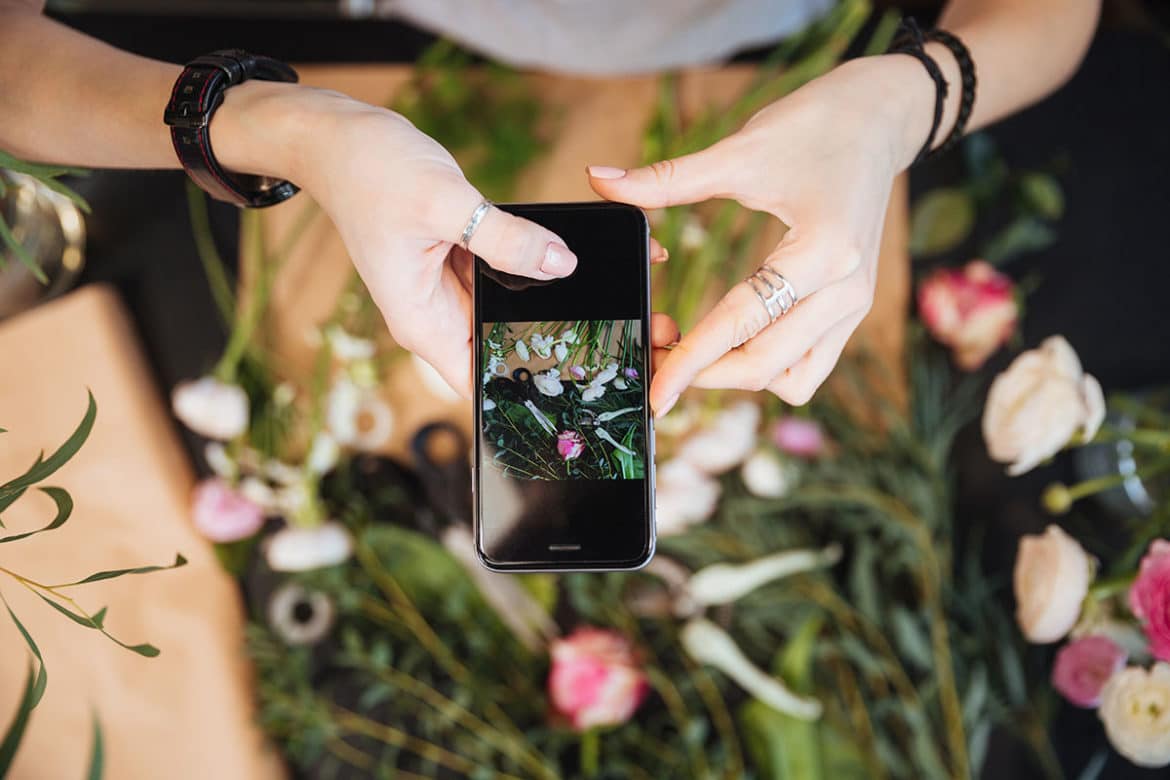
Use your smartphone
Remember, your smart phone is your best friend.
You can take incredible photos using nothing but your smart phone nowadays. Provided that the lighting is not too low, you’ll usually get quite good results. If in doubt, be brave and take multiple photos of the same subject – one should end up good!
Image format
When it comes to web design, landscape (“wide”) images almost always work better than portrait (“tall”) images. This is not true every time, so feel free to take both, but try to prioritise landscape photos.
Quality control
Always check your photos for quality before you send them, because blurred images may not be usable!
If you’re not feeling confident in taking great quality photos, stock imagery can be used sparingly. However, if you have the money to spare, we would advise hiring a professional photographer.
We always recommend Duncan and Mark at White Room to our clients.
Remember: Always start taking photos early! The more photos you have before your website build begins, the faster that build will be.
3. Organising your images.
We recommend copying your photos to your PC at this point.
The process differs a little from here if you’re using only a smart phone to organise and send your images. You can probably skip to here.
The 3 main things to remember here are as follows:
- Put your images into named folders
- Label your images
- LABEL YOUR IMAGES!
Yes, repeating the last point was important 🙂
Remember, you know your services, your staff, and your products but we don’t.
Properly labelling your photos will save tonnes of time, as we won’t have to ask you what they are later.
If you don’t want to rename every single photo file, place grouped ones into a folder. For example, place all your photos of “steel brackets” into a “steel brackets” folder.
Organise your photos into folders based on the table in the planning section above.
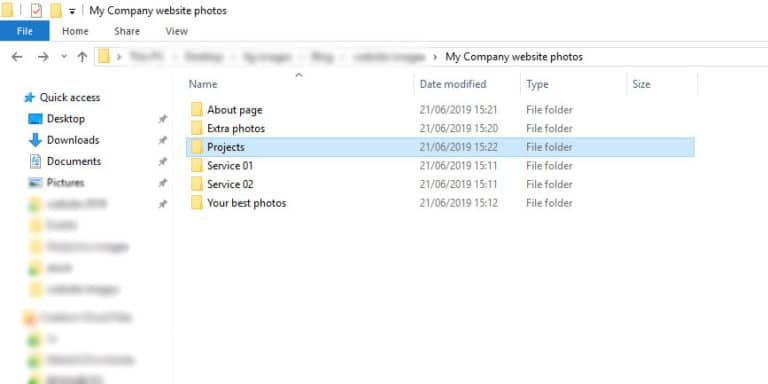
Take a look at the folder structure below and see how simple organisation makes it easy to navigate your images.
GET: Website images folder structure [.zip file]
4. Sending your images to your web designer
Once you have your beautifully-organised-and-labelled images ready, you need to send them to your designer (hopefully us!).
To easily send us all of your photos at once, you’ll need to create a zip file. Here are instructions on how to do that on Windows and Mac.
Your zip file may be too large to send via email but you can use a free file transfer service such as WeTransfer instead.
If you only need to send a couple of images, you can do so via email. Be aware that you need to attach the images rather than embed them. Embedding can sometimes shrink the image.
What if I’m only using a smartphone to send images?

Organising your images into labelled folders and sending everything in a zip file may not be easily possible if you’re only using your smartphone.
Renaming all of your images is also likely to be a chore.
Don’t send images via messenger apps
Using apps like WhatsApp and Facebook messenger to send images can result in quality loss.
Quite often, messenger apps will “compress” images to make them smaller for sending.
Compressed images can become blurry and won’t look as good on your website
Send your images in batches via email
While not as time-efficient as the above PC-based method, sending your images in batches will keep them organised and retain quality.
You’ll also save valuable time later in the project.
Follow these steps to keep your images organised and high in quality:
- Use the email subject line to identify what the images are
Let’s imagine that you have 10 photos of wedding bouquets that you need to send. Attach all of these images to one email and make the subject line “Wedding bouquets”. Simple! - Use similar subject lines to connect related groups of images
Sometimes, you’ll have more images for one section than one email will permit you to send. You’ll need to send 2 or more emails with the images attached. Returning to the wedding bouquets example, call your first email “Wedding bouquets 1”, the second “Wedding bouquets 2”, and so on. - Choose the right file size
Some smartphone email apps will ask you which file size you want to send for images. We generally ask our clients to send images that are more than 2000px wide. - Send important images separately or rename the files
You may want to use a specific image in a specific place in a section of your website. Make sure that this is clear when you send it. Either send the image separately with a subject line identifying where you want the image used, or rename the file with the information and send it with a group of other related photos.
The benefits to you…
High quality images will impress your customers and show off your work better. Planning, organising, and sending your images in the right way will avoid wasting time later in the web project.
Takeaway tips
- Use this handy image organisation table (word.doc) to plan our your website photos.
- When taking photos for you website, try to stick to landscape format.
- Always take multiple photos of the same subject.
- Where possible, rename your files so that it is clear what the image is.
- Organise your images into labelled folders. Use this folder structure to help (.zip file).
- Send a single zip file of all of your images if using a PC or Mac.
- Send clearly-labelled batches of photos via email if sending via smartphone.
Remember…
You don’t need to wait until your web project has started to gather images. If you’re planning to get a new website in the near future, start planning, taking, and organising your photos in advance.